


01What it is
A selection is one question for the client, for example about bathroom wall tiles. It belongs to a project and to a specific room or to the whole project. It has a category, a decide-by date and a budget.
You add options to a selection: each with a price, quantity, supplier, lead time and schedule impact. You can mark one option as recommended.
A selection moves through states: draft, awaiting decision, approved, change requested or rejected. Approval always concerns a specific option, and its value is compared with the item budget.
- ORDER
- Awaiting decision and change requested first, nearest deadline at the top.
- PORTAL
- The client sees a selection sent for decision in the project portal.
- HISTORY
- Who changed the state, when and with what reason.
02What it is for
Decisions on time
The decide-by date and the Overdue tile show what holds up orders.
Budget under control
The value of the approved option against the item budget.
Lead time and schedule
Every option states its delivery days and its impact on the schedule.
No more disputes over what was agreed
A decision history with a reason for every change.
03Main options
The decision centre is a list of selections, the new selection form and the selection card with options.
What is waiting for the client
Tiles: awaiting decision, change requested, approved and overdue.
- Filters for state, category and project
- Order by urgency and deadline
- The number of options on every selection

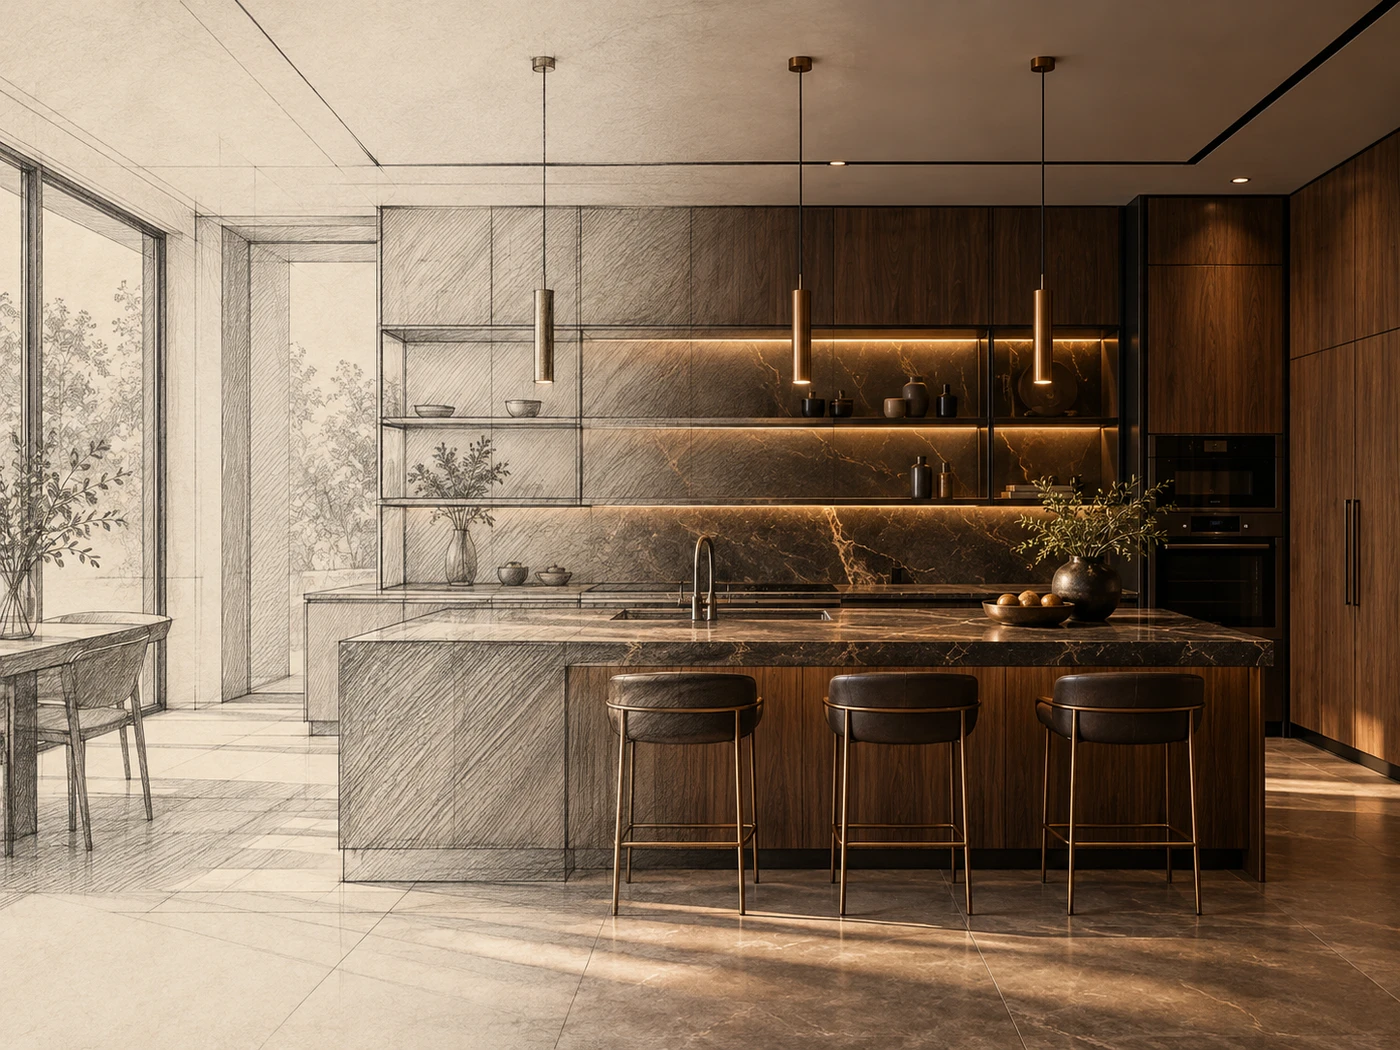
A question for the client
Material, furniture or lighting to decide.
- Title and category, for example tiles or lighting
- Project and room, or the whole project
- Question for the client, decide-by date and budget
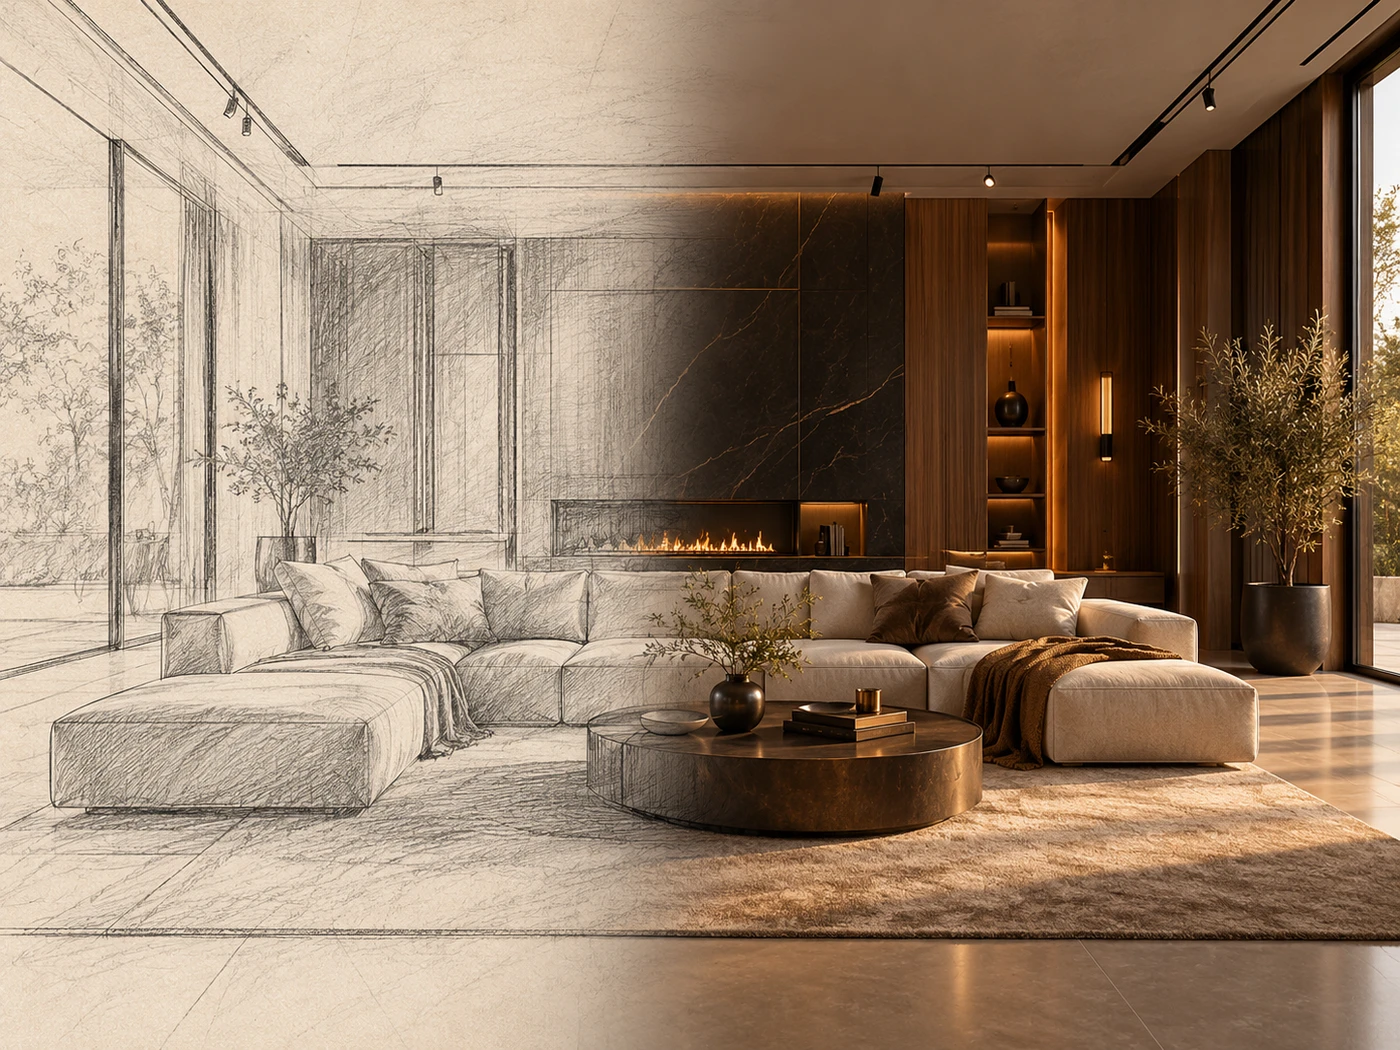
Proposals to compare
Every option with a photo and a description shown to the client.
- Brand, product code, unit price, quantity and unit
- Supplier, lead time, schedule impact and product link
- Our recommendation on one option
04Tasks step by step
- STEP 1Open Modules › Client and decisions › Decision centre and choose New selection.
- STEP 2Enter a title, for example “Bathroom wall tiles”, and choose the category, project and room.
- STEP 3Write the question for the client and set the decide-by date and budget.
- STEP 4On the selection card add options with photos and mark the recommended one.
- STEP 1On the selection card choose Send to the client for decision.
- STEP 2The selection appears in the client portal and its state changes to awaiting decision.
- STEP 1On the chosen option select Choose this option.
- STEP 2Approve the option, or request a change or reject the selection with a reason.
- STEP 3Every step goes into the Decision history tab.
05Actions
The most common tasks around client selections.
New selection
Material, furniture or lighting to decide.
Add option
A proposal with a photo and price.
Send to the client for decision
The selection in the client portal.
Approve
The decision for the chosen option.
Add comment
A note recorded in the decision history.
06What it connects to
Choose a module to see what a selection connects to.
Projects
A selection belongs to a project, and the client portal is the project portal.
Go to the topicProjectsInspiration
Inspiration boards set the direction you pick options from.
Go to the topicInspirationProject gallery
The gallery shows the number of decisions waiting on each project.
Go to the topicProject gallerySuppliers
An option can point at a supplier from your records.
Go to the topicSuppliers