


01What it is
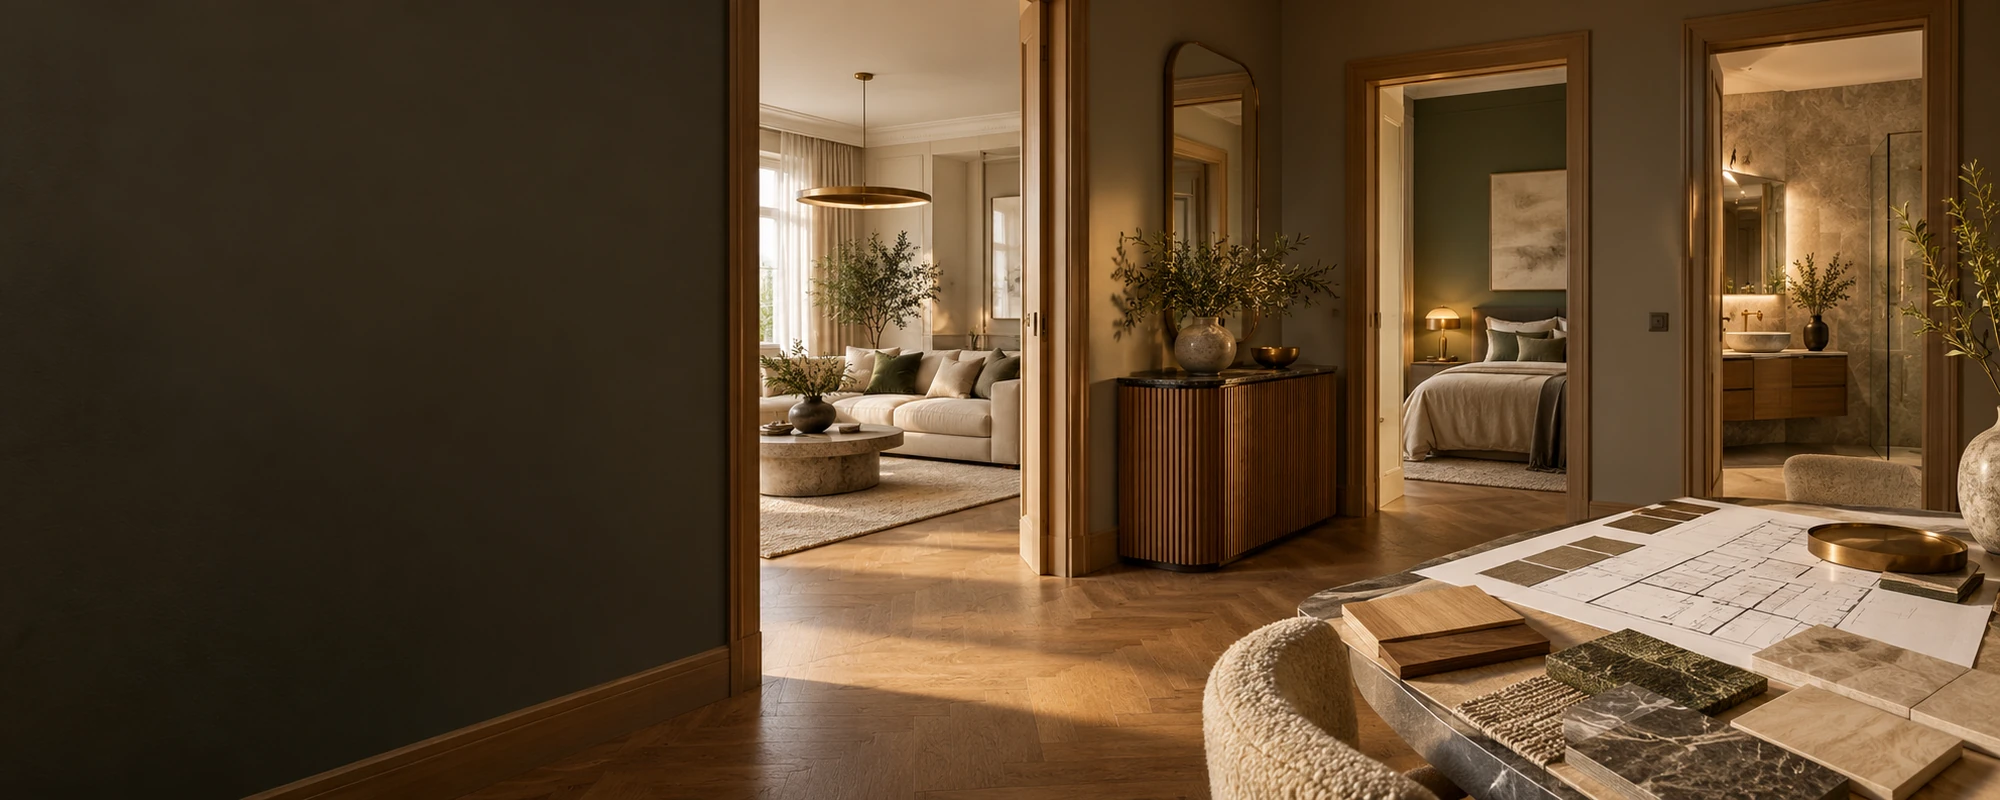
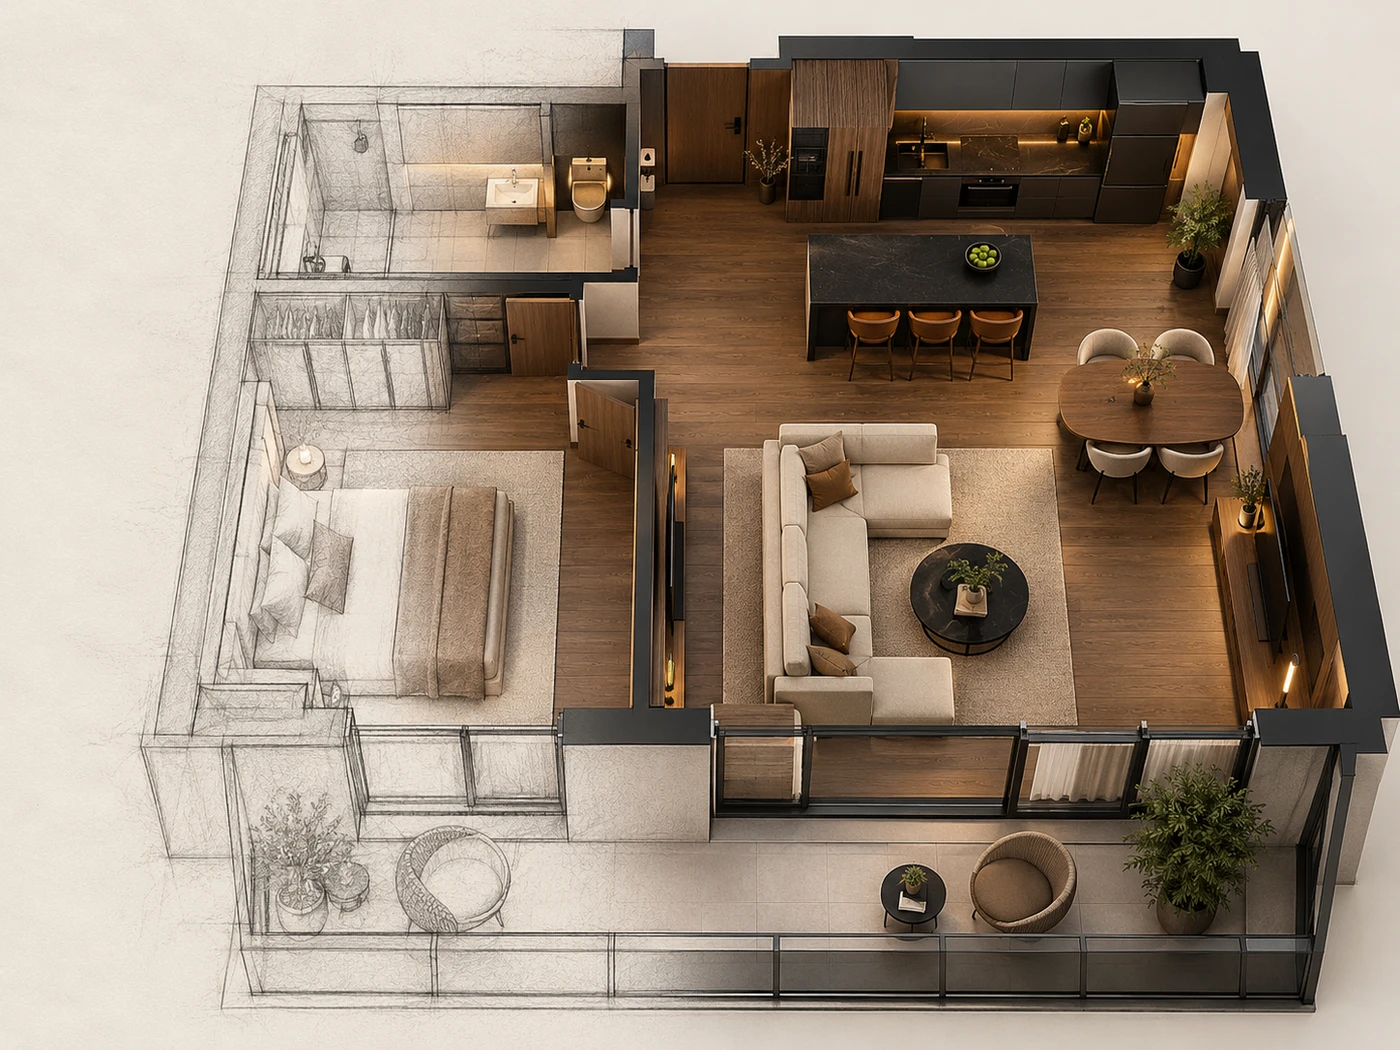
A unit is the place where you work: a flat, a house, a commercial unit, a garden or a common area of a building. It has an address, floors, area, a handover date and a warranty end date.
The same unit can go through several projects: first a turnkey fit-out, then a bathroom refresh, then a kitchen renovation. A unit with no project is also correct, for example when you only look after it under warranty.
The stage says where the unit is now: Planned, Under renovation, Handover, In use, Under warranty or Out of use.
- FLOOR PLANS
- Drawings of the unit with markers and revisions.
- TIMELINE
- Entries, photos, issues and protocols of the unit in one date range.
- WARRANTY
- Handover date and warranty end on every unit.
02What it is for
The whole history in one place
Projects, jobs and issues that concerned this unit.
Evidence in a dispute
The timeline shows the photo from the day work started, with its date.
What was sent back for a fix
The number of markers to fix on the plans is visible on the list.
Warranty at hand
The Under warranty tile and the warranty end date on the card.
03Main options
The units screen is a register with tiles, the unit form and the unit card with its timeline.
Units and their stage
Tiles: all, under renovation, under warranty and in use.
- Stage filter and search by name, code and town
- The number of projects the unit has taken part in
- Markers on plans with the number to fix
Technical data of the unit
The only required field is the unit name.
- Unit code, client, kind and stage
- Address, floors and area
- Handover date, warranty until and coordinates
The unit on one screen
Data, floor plans, issues and the jobs that concern it.
- Tabs: Overview, Floor plans, Issues, Jobs, Photos, Documents
- Timeline: diary entries, photos, issues and protocols in a date range
- You add a floor plan from the Management menu
04Tasks step by step
- STEP 1Open Modules › Projects › Units and choose New unit.
- STEP 2Enter the name and choose the client, kind and stage.
- STEP 3Fill in the address, area and coordinates, then save.
- STEP 1Open the project card and go to the Units tab.
- STEP 2In the form below the table choose the unit and the date from which it belongs to the project, then attach it.
- STEP 3The unit must belong to the project's client.
- STEP 1On the unit card open the Timeline tab.
- STEP 2Set the date range to the day work started.
- STEP 3You see diary entries and photos from that period, plus issues and protocols from the same time.
05Actions
The most common tasks around units.
New unit
Flat, house, office or commercial unit.
Add floor plan
A drawing of the unit for markers.
Timeline
The unit's history in a date range.
CSV export
Units in one file.
06What it connects to
Choose a module to see what connects to a unit.
Markers on plans
Markers sit on the unit's floor plans.
Go to the topicMarkers on plansHandovers
A final handover sets the unit's handover date and warranty end.
Go to the topicHandovers